

Tips & Tricks
Your Step-by-Step Guide to a Stronger Concrete Pour
CONCRETE WORK WE DO
-
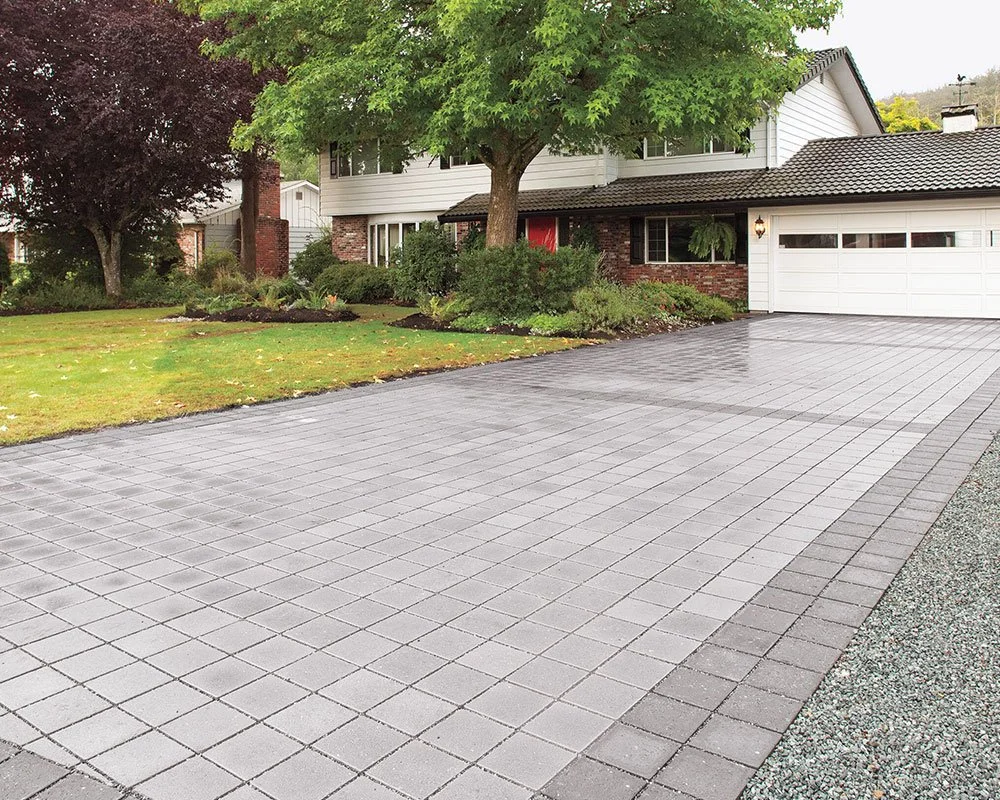
Durable Driveways
-

Carports
-
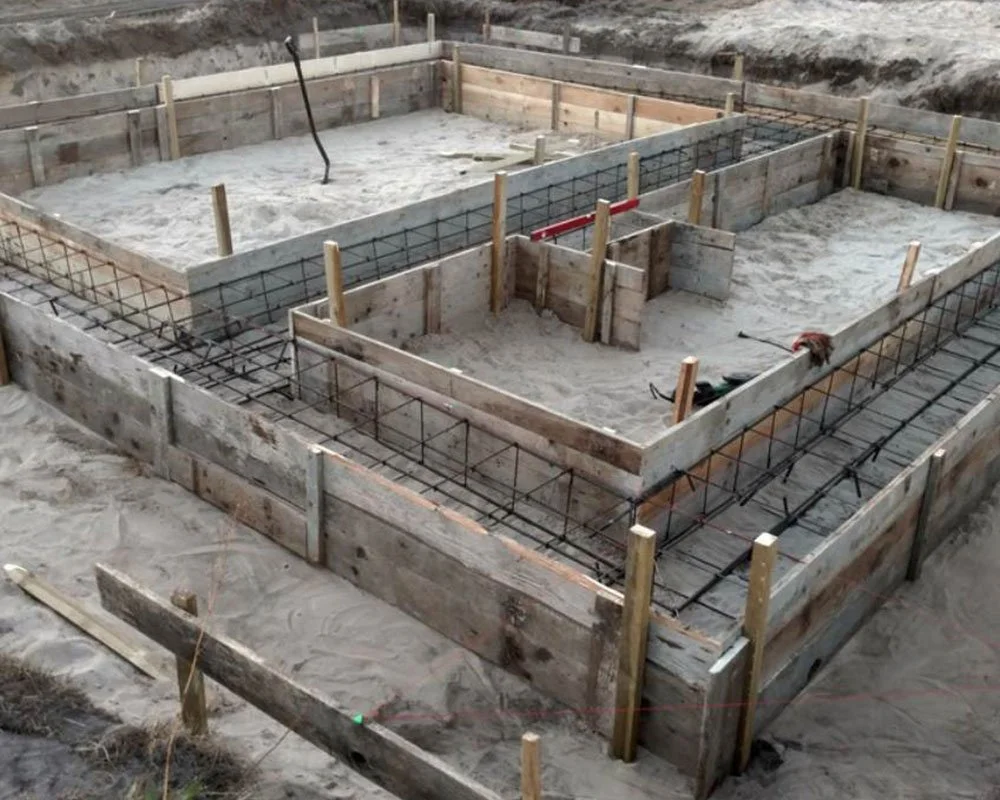
Footings
-
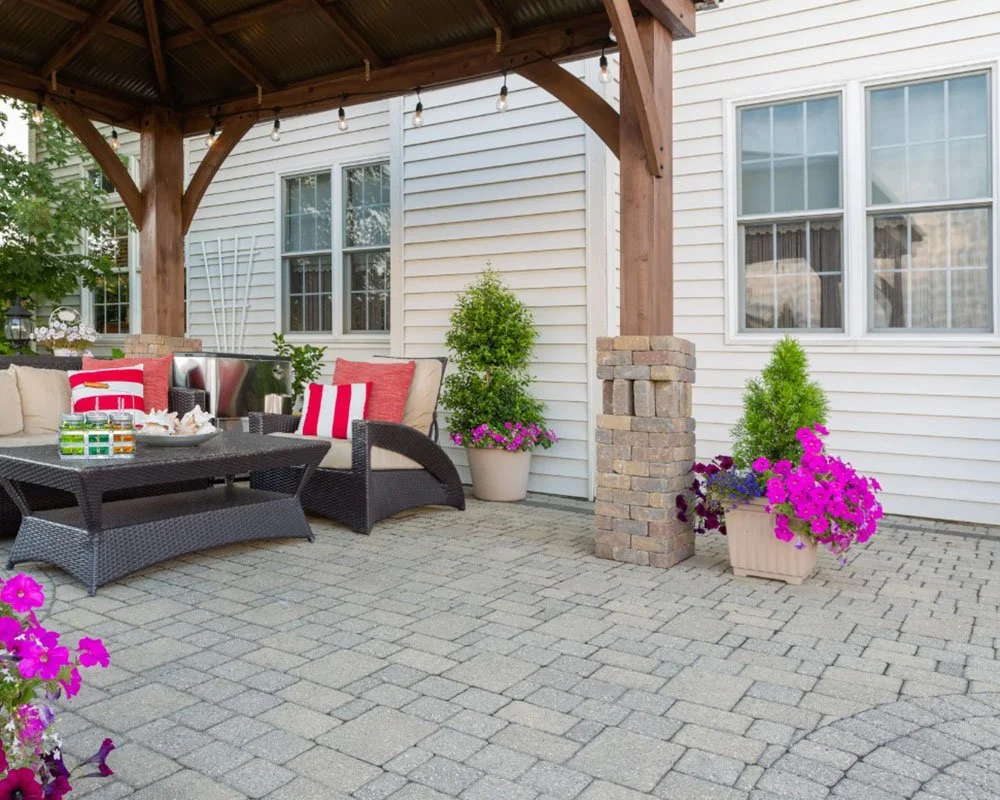
Patios
-
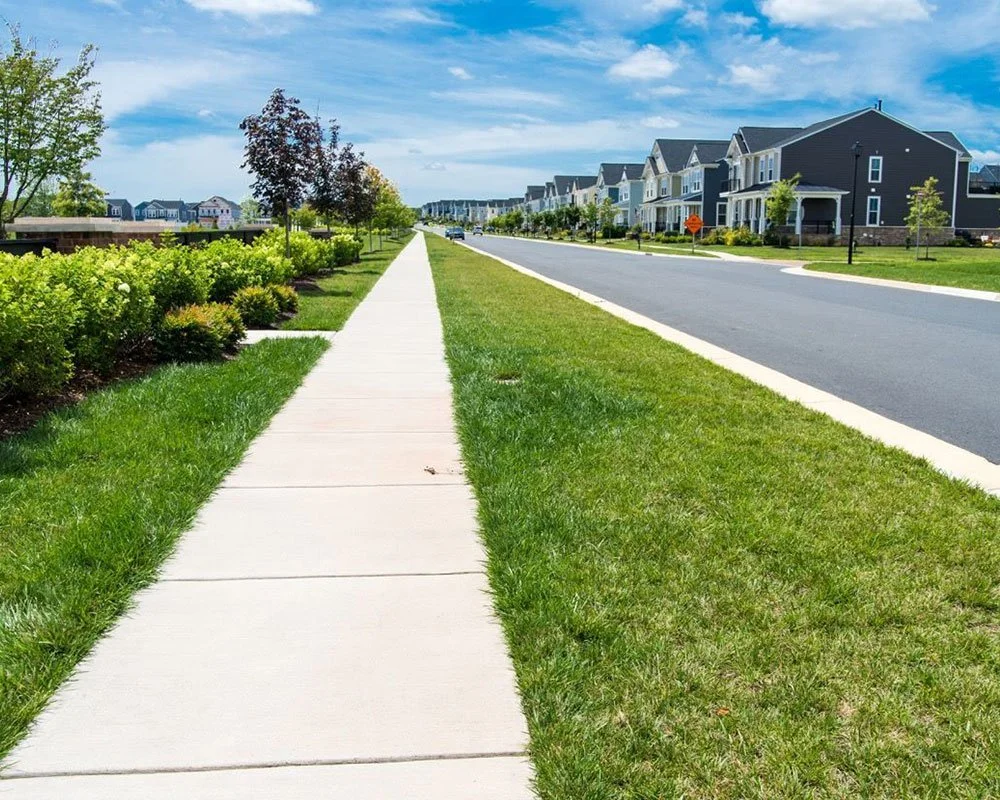
Sidewalks
-

Slabs
-

Dog Runs
-
Mailbox Pads
-

Garage Floors, etc.
PLANNING: Before You Pour
1. Know Your Project Scope
Figure out what you’re building and how much load it needs to support. A small patio doesn’t need the same mix or depth as a driveway. Planning the slab thickness, reinforcement, and finish ahead of time prevents surprises later.
2. Calculate the Right Amount of Concrete
Measure the area: length × width × depth (in feet), then divide by 27 to get the total in cubic yards. Add 5–10% extra to account for overdigging or uneven surfaces. Not sure? Our team can help you estimate.
3. Choose the Right Mix
Different projects need different strengths and finishes. From standard mixes to fiber-reinforced or quick-setting types, choosing the right one is key. Tell us your project details—we’ll help match the right mix.
4. Schedule Your Delivery Smartly
Always check the weather first. Avoid heavy rain or extreme temps. Then, book your delivery at least 24–48 hours ahead. Have your crew, tools, and forms ready to go before the truck shows up.
5. Line Up Your Tools
You’ll need: a screed board, bull float, edging tool, groover (for joints), trowels, and a broom (if adding texture). Also have water and rags nearby for cleanup. Being prepared saves time and avoids mistakes.
PREPARATION: Site & Pour
6. Prepare a Solid Base
Remove all soft soil, level the area, and lay 3–4 inches of compacted gravel. A solid base provides drainage and keeps the slab from settling or cracking. Take time here—this step makes all the difference.
7. Set Strong, Level Forms
Use straight boards like 2x4s or 2x6s and stake them in securely. Forms should be tight and level to create a clean edge and hold the shape. Check for square corners and even heights with a level or string line.
8. Pour Carefully, Work Steadily
Once the truck arrives, work quickly but don’t rush. Spread the concrete evenly, screed it flat, and begin floating the surface. Keep an eye on moisture—don’t start finishing while there’s still bleed water.
9. Add Control Joints
Cut joints every 8–10 feet to help guide cracking. Use a groover tool while finishing or saw-cut them later, once the slab has hardened slightly. These joints protect your slab long-term.
10. Add Texture & Cure Properly
Drag a broom across the surface for slip resistance, or go for decorative stamping. Then, cure the slab by keeping it moist for 3–7 days. Mist it with water or use curing blankets—this step strengthens the final result.
11. Clean Up Tools Immediately
Concrete sets fast. Wash all tools, wheelbarrows, and buckets right after use to avoid hardened build-up. A few minutes of cleanup now saves hours of scraping later.
12. Not Sure? Call Shamrock
Have a question about your project, mix, or tools? Our team is here to guide you through it. Whether it’s your first slab or your 100th, Shamrock Concrete is always ready to help.